This game started shipping a week or two ago and I've received my standard and deluxe sets! This game is incredible. Wondering if anyone has had a chance to play?
I took off work to spend a couple days getting back into it. I play tested the hell out of it during it's dev cycle but it's been months since I've touched it. Plus, didn't have the final ROM(s) as those were sent to another tester so I was curious what additions or changes had been implemented.
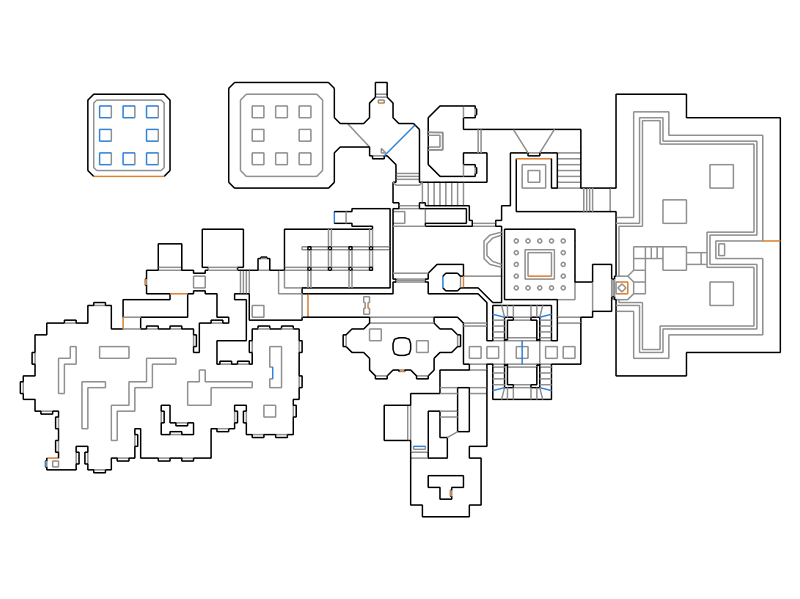
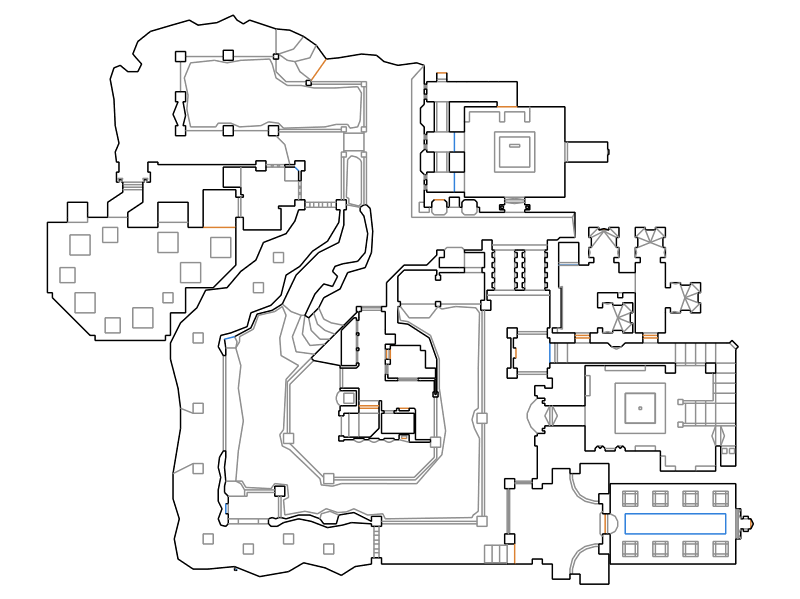
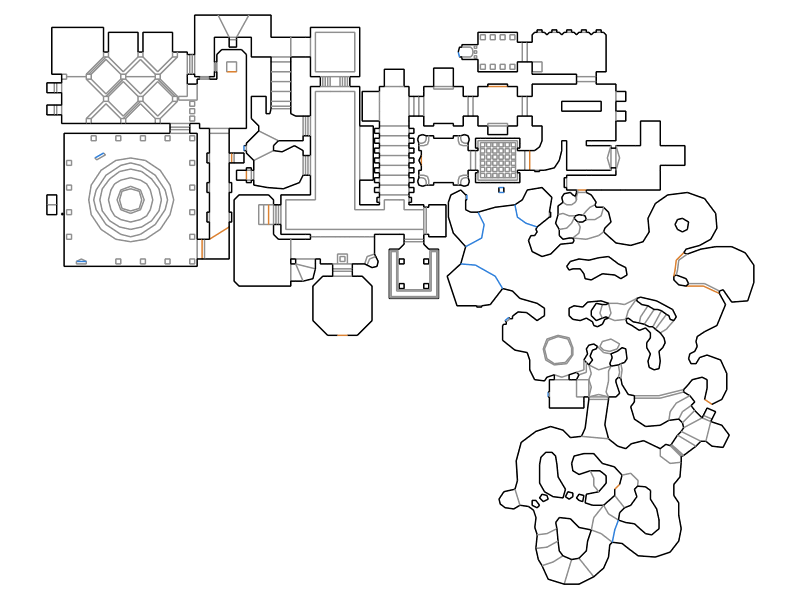
Happy to say, I hadn't lost my piloting skills... completely lol. In a 12 hour session I managed to beat all the levels on 'Pilot' difficulty. This was quite a challenge since I replayed various stages to complete them without a single crash for the online scoreboards. (don't want my records broken!)
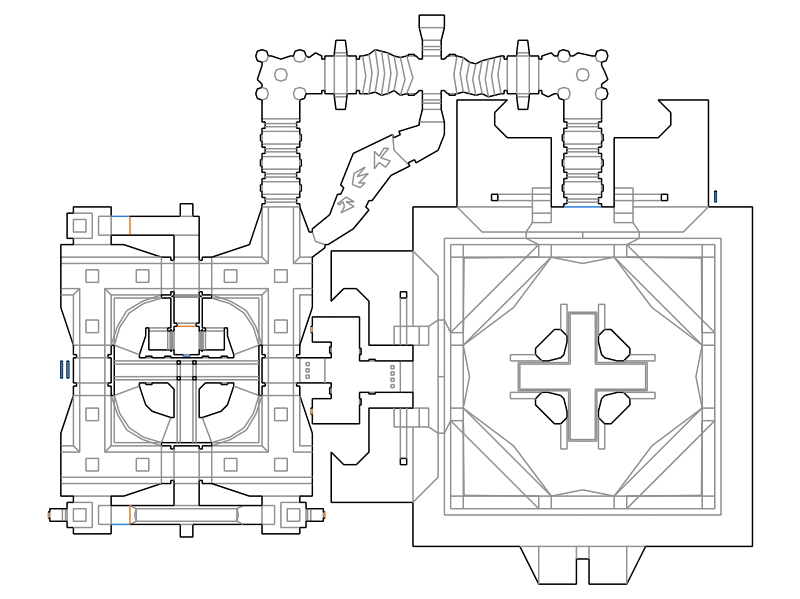
So, by beating Pilot, ACE difficulty is unlocked but my first sit down with Ace I got absolutely taken apart
I'll get back into it asap though. Have to be the 1st to get an Ace score on the boards to solidify my place as champ for all time
If anyone is looking for a phenomenal Jaguar game, this is definitely the one to grab. So addictive! There's a thread at AtariAge for more info and the game can be ordered or preordered from their store.
Anyway, I've had a lot of fun playing so wanted to share a little of my enthusiasm if it wasn't known it was available or if anyone was on the fence about the purchase bc of price.
Heading back to my E.W.S. for more alien slaughtering
I took off work to spend a couple days getting back into it. I play tested the hell out of it during it's dev cycle but it's been months since I've touched it. Plus, didn't have the final ROM(s) as those were sent to another tester so I was curious what additions or changes had been implemented.
Happy to say, I hadn't lost my piloting skills... completely lol. In a 12 hour session I managed to beat all the levels on 'Pilot' difficulty. This was quite a challenge since I replayed various stages to complete them without a single crash for the online scoreboards. (don't want my records broken!)
So, by beating Pilot, ACE difficulty is unlocked but my first sit down with Ace I got absolutely taken apart
I'll get back into it asap though. Have to be the 1st to get an Ace score on the boards to solidify my place as champ for all time
If anyone is looking for a phenomenal Jaguar game, this is definitely the one to grab. So addictive! There's a thread at AtariAge for more info and the game can be ordered or preordered from their store.
Anyway, I've had a lot of fun playing so wanted to share a little of my enthusiasm if it wasn't known it was available or if anyone was on the fence about the purchase bc of price.
Heading back to my E.W.S. for more alien slaughtering


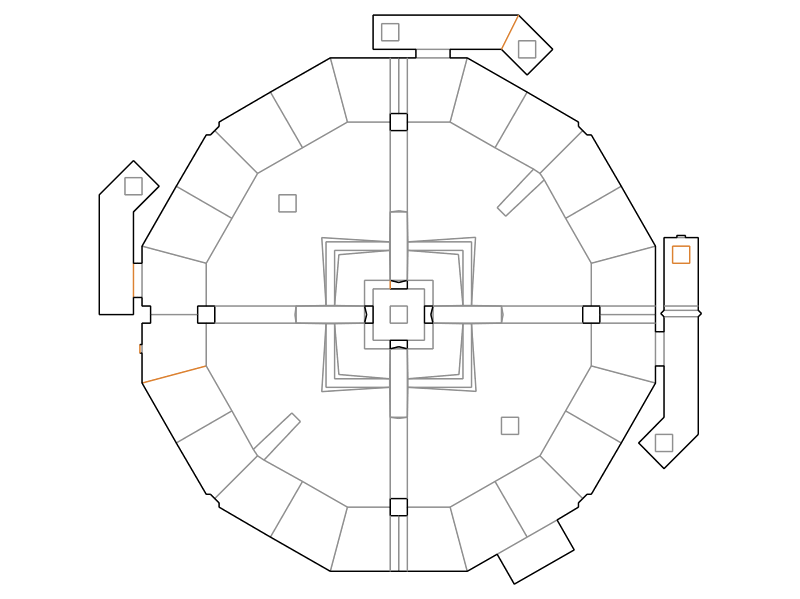
 Red key
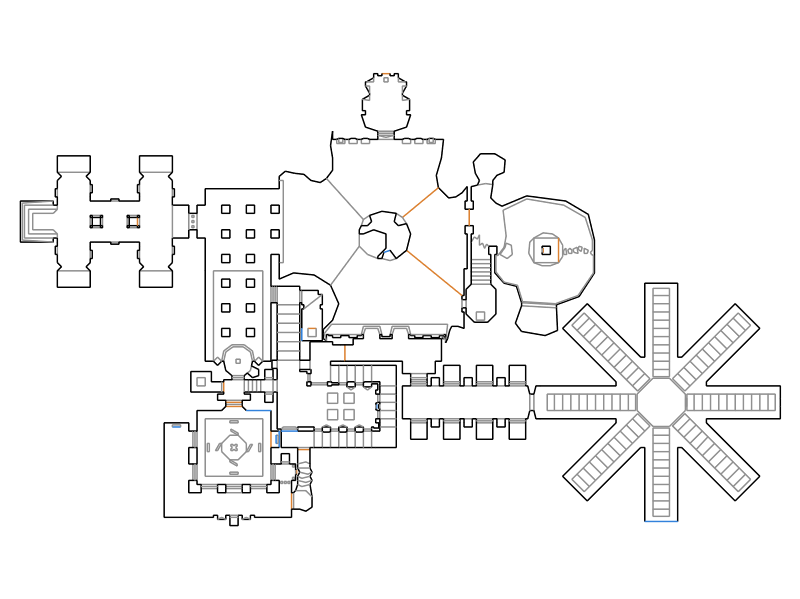